RemoteIoT behind router example Raspberry Pi has become increasingly popular as more individuals and businesses seek remote access solutions for IoT devices. With the rapid advancements in technology, setting up secure and efficient remote connections to IoT devices has become a necessity. This article will explore how you can configure a Raspberry Pi to work seamlessly behind a router for remote IoT operations.
As the Internet of Things (IoT) continues to expand, the ability to control and monitor devices remotely is critical. Whether you're managing smart home systems, industrial sensors, or agricultural equipment, having a reliable remote access setup is essential. This guide will provide you with detailed instructions and valuable insights to help you achieve this goal.
With Raspberry Pi being a cost-effective and versatile platform, it serves as an ideal device for remote IoT applications. By understanding how to configure it properly behind a router, you can ensure secure and uninterrupted access to your IoT devices from anywhere in the world.
Table of Contents
- Introduction to RemoteIoT Behind Router Example Raspberry Pi
- Raspberry Pi Overview
- Setting Up Remote Access for Raspberry Pi
- Securing Your Remote Connection
- Port Forwarding Essentials
- Dynamic DNS Solutions
- Advanced RemoteIoT Configurations
- Troubleshooting Common Issues
- Real-World Applications
- Conclusion and Next Steps
Introduction to RemoteIoT Behind Router Example Raspberry Pi
RemoteIoT behind router example Raspberry Pi involves setting up a secure and efficient remote connection for IoT devices using a Raspberry Pi as the central hub. This configuration allows users to control and monitor their IoT devices from anywhere in the world, provided they have an internet connection.
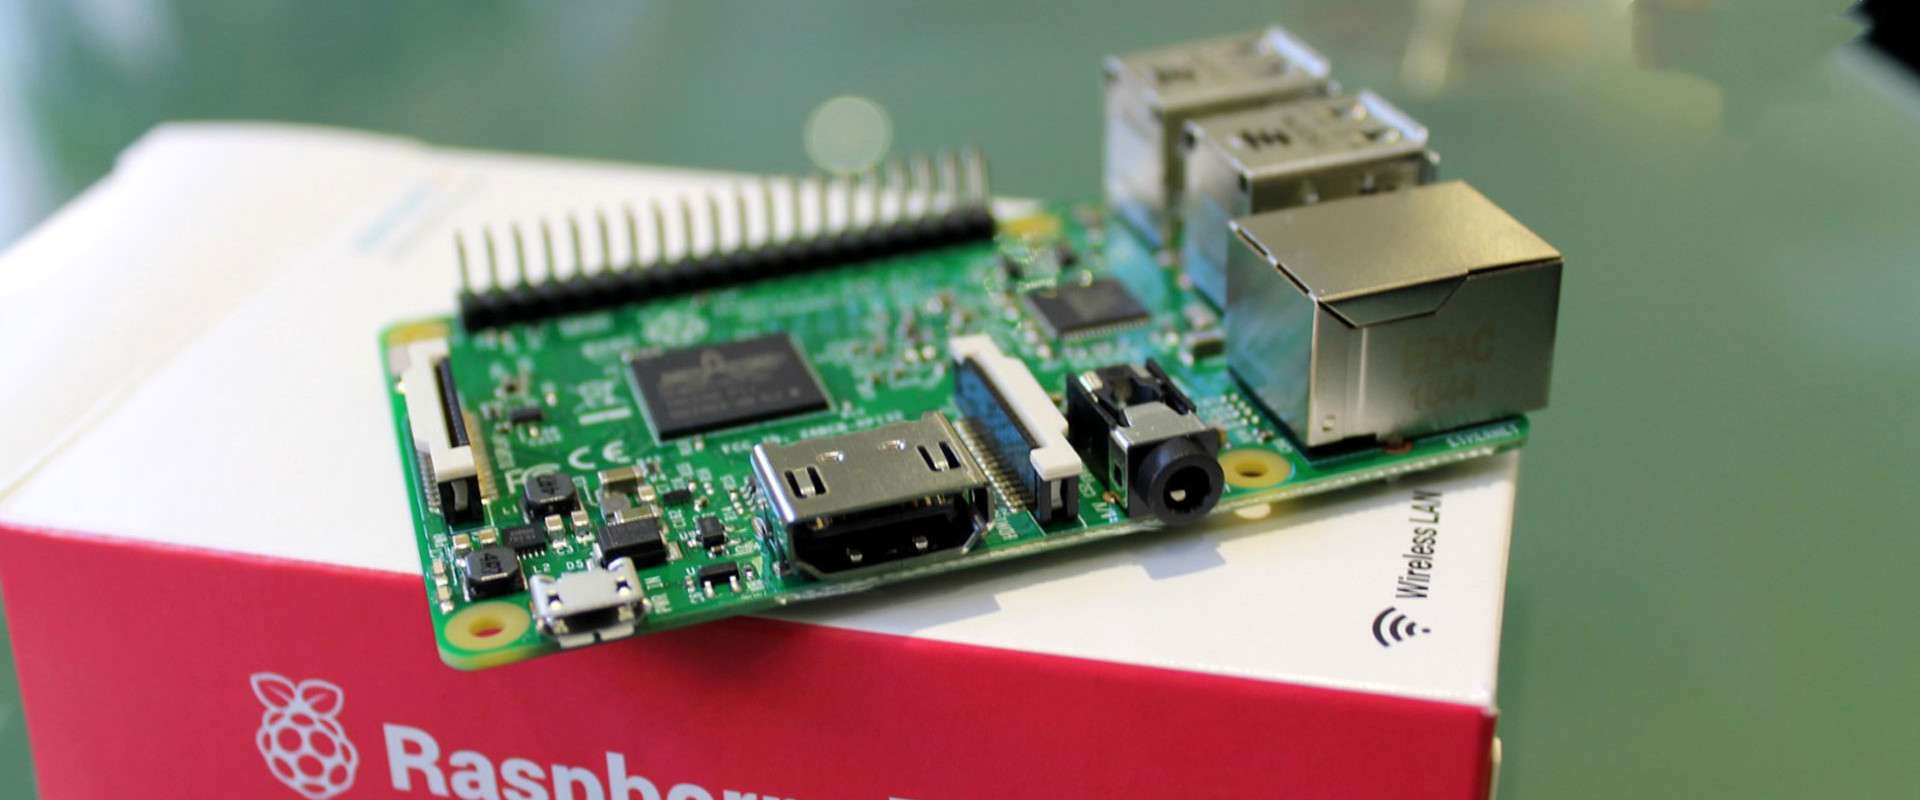
The Raspberry Pi, a compact and affordable single-board computer, has become a favorite among hobbyists, developers, and professionals alike. Its versatility and compatibility with various software platforms make it an excellent choice for remote IoT applications. By understanding the basics of networking and router configurations, you can unlock the full potential of your Raspberry Pi for remote access.
Raspberry Pi Overview
Raspberry Pi Models
Raspberry Pi comes in several models, each designed to cater to different needs and applications. Some of the most popular models include:
- Raspberry Pi 4 Model B
- Raspberry Pi 3 Model B+
- Raspberry Pi Zero W
Each model offers varying specifications, such as processing power, memory, and connectivity options. For remote IoT applications, the Raspberry Pi 4 Model B is often recommended due to its robust performance and dual-band Wi-Fi capabilities.
Operating Systems for Raspberry Pi
Choosing the right operating system (OS) is crucial for setting up remote IoT applications. Some popular options include:
- Raspberry Pi OS (formerly Raspbian)
- Ubuntu Server for Raspberry Pi
- Alpine Linux
These OS options provide the necessary tools and libraries to configure remote access and manage IoT devices effectively.
Setting Up Remote Access for Raspberry Pi
Basic Requirements
To set up remote access for your Raspberry Pi, you'll need the following:
- A Raspberry Pi with an appropriate OS installed
- A router with port forwarding capabilities
- An internet connection
- A dynamic DNS (DDNS) service
Once you have these prerequisites, you can proceed with configuring your Raspberry Pi for remote access.
SSH Configuration
Secure Shell (SSH) is a protocol that allows you to securely access and manage your Raspberry Pi remotely. To enable SSH on your Raspberry Pi:
- Open the terminal on your Raspberry Pi.
- Run the command:
sudo raspi-config. - Navigate to "Interfacing Options" and select "SSH".
- Choose "Yes" to enable SSH.
After enabling SSH, you can connect to your Raspberry Pi using an SSH client from any device on the same network.
Securing Your Remote Connection
SSH Key Authentication
Using SSH key authentication is a secure way to access your Raspberry Pi remotely. To set this up:
- Generate an SSH key pair on your local machine using the command:
ssh-keygen. - Copy the public key to your Raspberry Pi using the command:
ssh-copy-id pi@raspberrypi.local. - Disable password authentication by editing the SSH configuration file:
sudo nano /etc/ssh/sshd_config. - Set
PasswordAuthentication noand restart the SSH service:sudo systemctl restart ssh.
This method ensures that only authorized users with the correct private key can access your Raspberry Pi.
Firewall Configuration
Configuring a firewall on your Raspberry Pi adds an extra layer of security. Use the ufw (Uncomplicated Firewall) tool to set up basic rules:
- Enable the firewall:
sudo ufw enable. - Allow SSH connections:
sudo ufw allow ssh. - Deny all other incoming connections:
sudo ufw default deny incoming.
This setup helps protect your Raspberry Pi from unauthorized access and potential threats.
Port Forwarding Essentials
Port forwarding allows external devices to connect to your Raspberry Pi through your router. To configure port forwarding:
- Log in to your router's admin interface using its IP address.
- Locate the port forwarding settings.
- Add a new rule with the following details:
- Service Name: Raspberry Pi SSH
- External Port: 22
- Internal IP Address: Raspberry Pi's local IP address
- Internal Port: 22
- Save the settings and restart your router if necessary.
With port forwarding configured, you can now access your Raspberry Pi from outside your local network using your router's public IP address.
Dynamic DNS Solutions
Dynamic DNS (DDNS) services help you maintain a consistent domain name for your Raspberry Pi, even if your router's public IP address changes. Some popular DDNS providers include:
- No-IP
- Dynu
- duckDNS
By setting up a DDNS service, you can use a memorable domain name instead of relying on IP addresses to access your Raspberry Pi remotely.
Advanced RemoteIoT Configurations
VPN Setup
Setting up a Virtual Private Network (VPN) on your Raspberry Pi enhances security by encrypting all communication between your device and the Raspberry Pi. Popular VPN solutions for Raspberry Pi include:
- OpenVPN
- WireGuard
These tools allow you to create a secure tunnel for remote access, ensuring data privacy and protection.
Remote Desktop Access
For graphical applications, you can configure remote desktop access on your Raspberry Pi using tools like:
- VNC Server
- XRDP
These solutions enable you to interact with your Raspberry Pi's desktop environment from any device, providing a more intuitive user experience.
Troubleshooting Common Issues
When setting up remote IoT applications, you may encounter various issues. Some common problems and their solutions include:
- Unable to Connect via SSH: Ensure that SSH is enabled, the correct IP address is used, and port forwarding is properly configured.
- Dynamic DNS Not Updating: Verify that the DDNS client is running and that your router's IP address has changed.
- Slow Connection Speeds: Check your internet connection, router settings, and any potential network congestion.
Addressing these issues promptly ensures a smooth and reliable remote IoT setup.
Real-World Applications
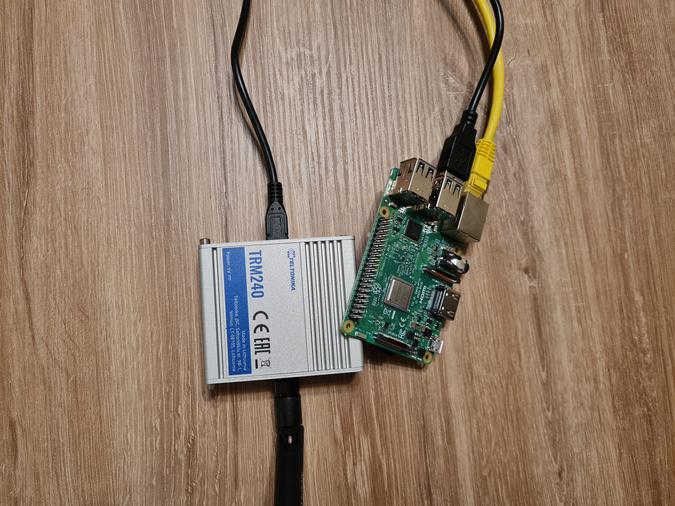
RemoteIoT behind router example Raspberry Pi has numerous practical applications, including:
- Home automation systems
- Remote monitoring of industrial equipment
- Agricultural data collection and analysis
- Environmental monitoring stations
By leveraging the capabilities of Raspberry Pi and remote IoT technologies, you can create innovative solutions that enhance efficiency and productivity in various fields.
Conclusion and Next Steps
RemoteIoT behind router example Raspberry Pi offers a powerful and flexible solution for managing IoT devices remotely. By following the steps outlined in this guide, you can configure a secure and efficient remote access setup for your Raspberry Pi. Remember to prioritize security and regularly update your system to protect against potential threats.
We encourage you to share your experiences and insights in the comments below. Additionally, explore other articles on our site to deepen your knowledge of IoT and Raspberry Pi applications. Together, let's build a smarter and more connected world!