RemoteIoT behind router with Raspberry Pi free is a revolutionary solution for enthusiasts and professionals alike who want to manage IoT devices remotely without incurring additional costs. In today's interconnected world, the ability to access and control devices remotely is no longer a luxury but a necessity. Whether you're a hobbyist tinkering with smart home systems or a professional managing industrial IoT deployments, this guide will walk you through everything you need to know about setting up a remote IoT system with a Raspberry Pi.
The concept of remote IoT is gaining traction as more people embrace the Internet of Things (IoT) for various applications. From monitoring environmental conditions to automating home appliances, IoT devices have become integral to our daily lives. However, the challenge often lies in accessing these devices remotely without compromising security or spending excessive amounts on cloud services. This is where Raspberry Pi comes into play, offering a cost-effective and flexible solution.
In this comprehensive guide, we will explore how to set up a remote IoT system behind a router using a Raspberry Pi without any subscription fees. We will cover everything from the basics of IoT and Raspberry Pi to advanced configurations, ensuring you have a solid understanding of the process. Whether you're new to IoT or looking to enhance your existing setup, this article will provide you with the knowledge and tools to achieve your goals.
Table of Contents
- Introduction to IoT
- Raspberry Pi Overview
- Why Remote IoT?
- Setting Up Raspberry Pi
- Connecting Behind Router
- Securing Your System
- Remote Access Options
- Troubleshooting Tips
- Real-World Applications
- Conclusion
Introduction to IoT
The Internet of Things (IoT) refers to the network of physical devices embedded with sensors, software, and connectivity, enabling them to collect and exchange data. IoT has transformed various industries, from healthcare to manufacturing, by providing real-time insights and automation capabilities. The potential of IoT lies in its ability to enhance efficiency, reduce costs, and improve decision-making processes.
One of the critical challenges in IoT deployment is ensuring secure and reliable remote access. Many IoT devices operate behind routers, making it difficult to access them from external networks. This is where solutions like Raspberry Pi come into play, offering a powerful yet affordable platform for managing IoT systems remotely.
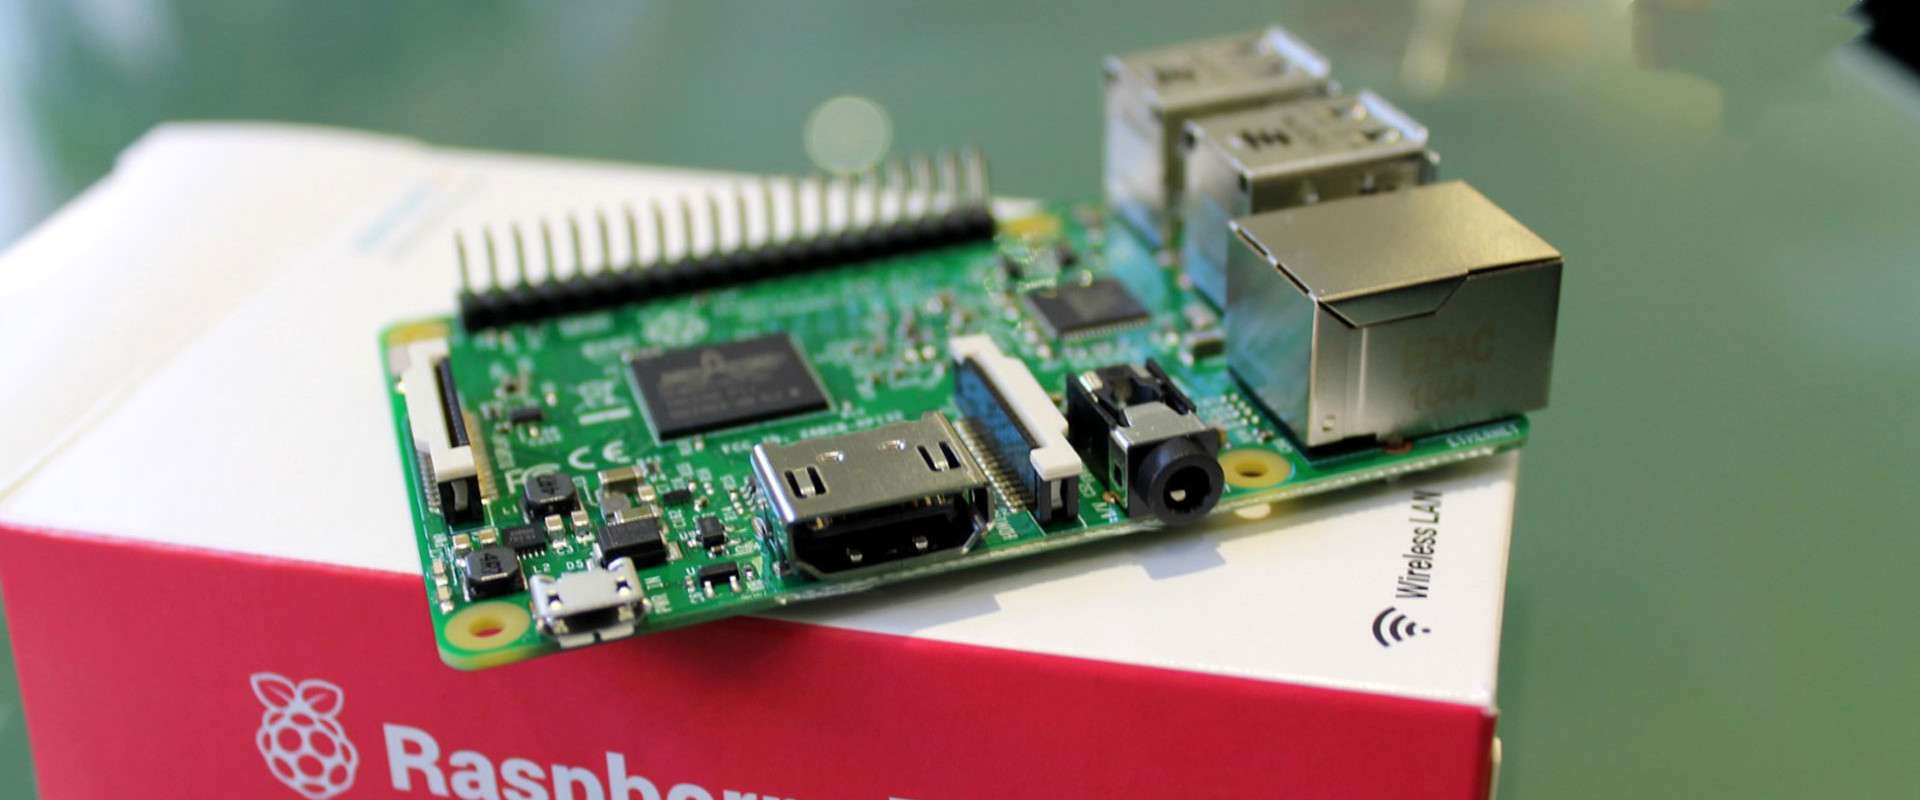
Raspberry Pi Overview
Raspberry Pi is a compact, single-board computer designed to promote learning in computer science and electronics. Despite its small size, Raspberry Pi packs a powerful punch, capable of running a full-fledged operating system and supporting various applications. Its versatility and affordability have made it a favorite among hobbyists, educators, and professionals alike.
For remote IoT applications, Raspberry Pi serves as an ideal platform due to its ability to run lightweight server software and its compatibility with a wide range of sensors and actuators. Additionally, its low power consumption makes it suitable for long-term deployments, even in remote locations.
Why Remote IoT?
Remote IoT offers numerous advantages over traditional local IoT setups. Firstly, it allows users to monitor and control devices from anywhere in the world, eliminating the need for physical presence. This is particularly beneficial for managing critical infrastructure, such as water treatment plants or renewable energy systems, where real-time monitoring is essential.
Secondly, remote IoT enables data collection and analysis from multiple locations, providing a comprehensive view of operations. This can lead to improved decision-making and optimized resource allocation. Lastly, remote IoT setups can be configured to send alerts and notifications, ensuring timely responses to potential issues.
Setting Up Raspberry Pi
Hardware Requirements
Before diving into the setup process, ensure you have the necessary hardware components:
- Raspberry Pi board (Raspberry Pi 4 recommended)
- MicroSD card (minimum 16GB)
- Power supply (official Raspberry Pi power adapter)
- Ethernet cable or Wi-Fi dongle
- Housing for Raspberry Pi (optional)
Software Setup
Once you have the hardware, follow these steps to set up the software:
- Download the Raspberry Pi OS image from the official website.
- Use a tool like Etcher to flash the image onto the MicroSD card.
- Insert the MicroSD card into the Raspberry Pi and power it on.
- Connect to the Raspberry Pi using SSH or a monitor/keyboard.
- Update the operating system using the command:
sudo apt update && sudo apt upgrade.
Connecting Behind Router
Connecting a Raspberry Pi behind a router requires configuring port forwarding or using a service like Ngrok to expose the device to the internet. Port forwarding involves setting up rules in your router to direct incoming traffic to the Raspberry Pi's local IP address. This method is more secure but requires a static IP address for the Raspberry Pi.
Alternatively, tools like Ngrok provide an easy way to create a secure tunnel to your Raspberry Pi without modifying router settings. While not free for commercial use, Ngrok offers a free tier that is sufficient for personal projects.
Securing Your System
Security is paramount when setting up a remote IoT system. Follow these best practices to protect your Raspberry Pi and connected devices:
- Change the default SSH password and disable root login.
- Enable a firewall to restrict unauthorized access.
- Use encryption for data transmission, such as HTTPS or SSH.
- Regularly update the operating system and installed software.
Remote Access Options
There are several methods for accessing your Raspberry Pi remotely:
- SSH (Secure Shell): Ideal for command-line access, SSH provides a secure way to manage your Raspberry Pi from any location.
- VNC (Virtual Network Computing): Allows you to access the graphical interface of your Raspberry Pi remotely.
- Web Interface: Set up a web server on your Raspberry Pi to create a custom dashboard for monitoring and controlling IoT devices.
Troubleshooting Tips
Encountering issues during setup is common. Here are some troubleshooting tips:
- Check your network configuration to ensure the Raspberry Pi is connected correctly.
- Verify port forwarding rules in your router settings.
- Consult the official Raspberry Pi forums or documentation for additional support.
Real-World Applications
Remote IoT with Raspberry Pi has countless applications across various industries. Some examples include:
- Smart home automation systems for controlling lighting, temperature, and security.
- Environmental monitoring for tracking air quality, humidity, and temperature.
- Agricultural solutions for optimizing irrigation and crop management.
Conclusion
In conclusion, remote IoT behind router with Raspberry Pi free is a powerful and cost-effective solution for managing IoT devices remotely. By following the steps outlined in this guide, you can set up a secure and reliable remote IoT system tailored to your specific needs. Remember to prioritize security and regularly update your setup to ensure optimal performance.
We encourage you to share your experiences and ask questions in the comments section below. Don't forget to explore other articles on our website for more insights into IoT and Raspberry Pi projects. Together, let's unlock the full potential of remote IoT!