Accessing Raspberry Pi SSH remotely is one of the most essential skills for anyone working with Raspberry Pi devices. Whether you're managing servers, automating processes, or building IoT projects, knowing how to securely connect to your Raspberry Pi from anywhere can significantly enhance your productivity. In this guide, we'll walk you through the process step by step, ensuring you understand the best practices and tools to achieve seamless remote access.
As remote work and automation become increasingly popular, the ability to control your Raspberry Pi remotely has become a must-have skill. Whether you're a developer, hobbyist, or professional, understanding how to configure and secure SSH connections is vital for maintaining your projects efficiently.
This article will provide a detailed overview of accessing Raspberry Pi SSH remotely, covering everything from setting up your Raspberry Pi for remote access to troubleshooting common issues. We'll also explore advanced techniques and security measures to ensure your connection remains safe and reliable.
Table of Contents
- Introduction to SSH
- Raspberry Pi SSH Setup
- Remote Access Methods
- Port Forwarding
- Using Tunneling
- Third-Party Tools
- Security Best Practices
- Troubleshooting
- Advanced Techniques
- Conclusion
Introduction to SSH
SSH, or Secure Shell, is a cryptographic network protocol used for secure communication between devices over an unsecured network. It provides a secure way to log into remote machines, transfer files, and execute commands. When it comes to Raspberry Pi, SSH is the go-to method for remote management.
SSH ensures that all data transmitted between your local machine and the Raspberry Pi is encrypted, protecting sensitive information from potential eavesdroppers. Understanding SSH is crucial for anyone looking to access Raspberry Pi SSH remotely, as it forms the foundation of secure remote access.
Before diving into the technical aspects, it's important to note that SSH is enabled by default on newer versions of Raspberry Pi OS. However, for older versions, you may need to enable it manually. We'll cover this process in detail later in the guide.
Raspberry Pi SSH Setup
Enabling SSH on Raspberry Pi
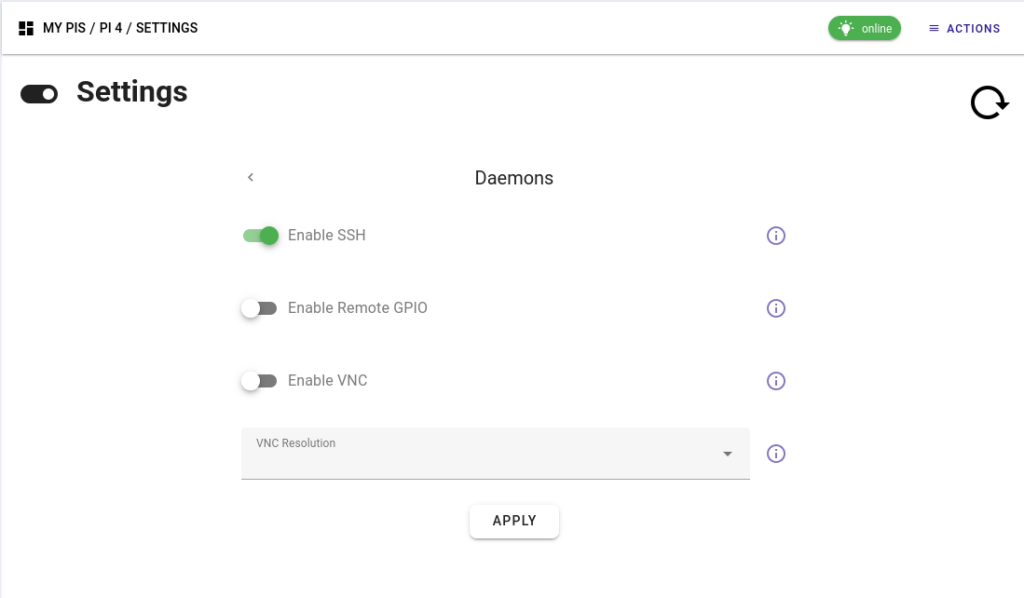
The first step in accessing Raspberry Pi SSH remotely is to ensure that SSH is enabled on your device. Here's how you can do it:
- Boot your Raspberry Pi and log in using your preferred method.
- Open the terminal and type
sudo raspi-config. - Navigate to "Interfacing Options" and select "SSH."
- Choose "Enable" and exit the configuration tool.
Alternatively, you can enable SSH by creating an empty file named "ssh" on the boot partition of your SD card before booting the Raspberry Pi for the first time.
Connecting Locally
Once SSH is enabled, you can connect to your Raspberry Pi locally using its IP address. Use the following command in your terminal:
ssh pi@
Replace
Remote Access Methods
Direct IP Connection
One of the simplest ways to access Raspberry Pi SSH remotely is by using its public IP address. However, this method requires your Raspberry Pi to have a static IP and your router to be configured for port forwarding.
Dynamic DNS
Dynamic DNS services allow you to assign a domain name to your Raspberry Pi's dynamic IP address. This way, you don't need to remember the IP address, and the connection remains stable even if the IP changes.
Port Forwarding
Port forwarding is a technique used to allow external devices to access services running on your local network. To set up port forwarding for SSH:
- Log in to your router's admin panel.
- Locate the port forwarding section and create a new rule.
- Set the external port to 22 (default SSH port) and the internal IP to your Raspberry Pi's local IP.
- Save the changes and test the connection.
Port forwarding is a powerful tool, but it also introduces potential security risks. Always ensure that your router's firewall is configured properly to protect your network.
Using Tunneling
SSH Tunneling
SSH tunneling, also known as port forwarding, allows you to securely access services on your Raspberry Pi from a remote location. This method is particularly useful when dealing with firewalls or restricted networks.
Here's how to set up an SSH tunnel:
- Open a terminal on your local machine.
- Run the following command:
ssh -L.:localhost: pi@ - Access the service on your local machine using
localhost:.
Reverse SSH Tunneling
Reverse SSH tunneling is useful when your Raspberry Pi is behind a NAT or firewall and cannot be accessed directly. By establishing a reverse tunnel, you can initiate the connection from the Raspberry Pi to a remote server, allowing you to access it remotely.
Third-Party Tools
ngrok
ngrok is a popular tool for creating secure tunnels to your Raspberry Pi. It allows you to expose local services to the internet with minimal configuration. Simply install ngrok on your Raspberry Pi and run the following command:
ngrok tcp 22
This will generate a public URL that you can use to access your Raspberry Pi SSH remotely.
PageKite
PageKite is another excellent option for remote access. It provides a user-friendly interface and supports both HTTP and SSH tunnels. PageKite also offers free and paid plans, making it accessible for hobbyists and professionals alike.
Security Best Practices
Security should always be a top priority when accessing Raspberry Pi SSH remotely. Here are some best practices to keep your connection safe:
- Change the default SSH port to a non-standard port.
- Disable password authentication and use SSH keys instead.
- Install and configure a firewall to restrict access to specific IP addresses.
- Regularly update your Raspberry Pi OS and installed packages to patch vulnerabilities.
By following these practices, you can significantly reduce the risk of unauthorized access and protect your data.
Troubleshooting
Even with proper configuration, issues can arise when trying to access Raspberry Pi SSH remotely. Here are some common problems and their solutions:
- Connection Refused: Ensure that SSH is enabled and the correct port is forwarded on your router.
- Authentication Failed: Double-check your username, password, and SSH keys. Make sure there are no typos.
- Timeout Errors: Verify your Raspberry Pi's IP address and ensure there are no network connectivity issues.
If the problem persists, consult the logs on your Raspberry Pi for more detailed error messages.
Advanced Techniques
Automating SSH Connections
For frequent users, automating SSH connections can save time and effort. You can achieve this by setting up SSH keys and configuring your SSH client to automatically connect to your Raspberry Pi.
Monitoring and Logging
Monitoring your SSH connections and logging access attempts can help detect and prevent unauthorized access. Tools like Fail2Ban can automatically block suspicious IP addresses after a certain number of failed login attempts.
Conclusion
Accessing Raspberry Pi SSH remotely is a powerful tool that allows you to manage your projects efficiently from anywhere in the world. By following the steps outlined in this guide, you can set up secure and reliable remote connections using various methods and tools.
We encourage you to explore the advanced techniques discussed and implement security best practices to safeguard your Raspberry Pi. Feel free to leave a comment below if you have any questions or need further assistance. Don't forget to share this article with your fellow Raspberry Pi enthusiasts!
For more in-depth guides and tutorials, explore our other articles on Raspberry Pi and related technologies. Happy tinkering!