In today's digital world, securing remote access to your devices is more important than ever. A Raspberry Pi SSH tunnel offers an excellent way to protect your data and privacy while accessing your systems from anywhere. Whether you're a beginner or an advanced user, understanding the basics of Raspberry Pi SSH tunneling can help you achieve secure communication between devices. This article will guide you through everything you need to know about setting up and using SSH tunnels on your Raspberry Pi.
As technology continues to evolve, the need for secure connections has grown exponentially. Whether you're managing servers, working remotely, or simply accessing files from a different location, SSH tunnels provide a reliable solution. In this article, we'll explore how Raspberry Pi can be used as a powerful tool for creating secure tunnels.
This guide is designed to help you understand the concept of Raspberry Pi SSH tunneling, its benefits, and how to implement it effectively. Whether you're looking to enhance your cybersecurity or simply want to learn more about Raspberry Pi's capabilities, this article has everything you need.
What is Raspberry Pi SSH Tunnel?
A Raspberry Pi SSH tunnel refers to the use of Secure Shell (SSH) protocol to establish a secure connection between two devices over the internet. SSH is a cryptographic network protocol that ensures data privacy and integrity during communication. By using Raspberry Pi as the intermediary device, you can create encrypted tunnels that protect your data from unauthorized access.
Key Benefits of Raspberry Pi SSH Tunnel:
- Enhanced security through encryption
- Access to remote systems without exposing sensitive data
- Flexibility in managing multiple devices
- Cost-effective solution for personal and professional use
Raspberry Pi SSH tunnels are particularly useful for users who need to access their home network or personal devices from remote locations. By setting up an SSH server on your Raspberry Pi, you can create a secure gateway to your internal network.
Why Use Raspberry Pi for SSH Tunneling?
Raspberry Pi is a versatile and affordable single-board computer that can be configured for various purposes, including SSH tunneling. Its small size, low power consumption, and ease of setup make it an ideal choice for creating secure connections.
Advantages of Using Raspberry Pi for SSH Tunneling
Here are some reasons why Raspberry Pi is a popular choice for SSH tunneling:
- Low cost: Raspberry Pi models are affordable, making them accessible for personal and small-scale projects.
- Energy-efficient: Raspberry Pi consumes minimal power, making it suitable for long-term use.
- Customizable: With a wide range of operating systems and software options, Raspberry Pi can be tailored to meet specific needs.
- Community support: A large and active community provides extensive resources and tutorials for Raspberry Pi users.
These advantages make Raspberry Pi an excellent platform for setting up SSH tunnels and enhancing your cybersecurity.
How Does SSH Tunneling Work?
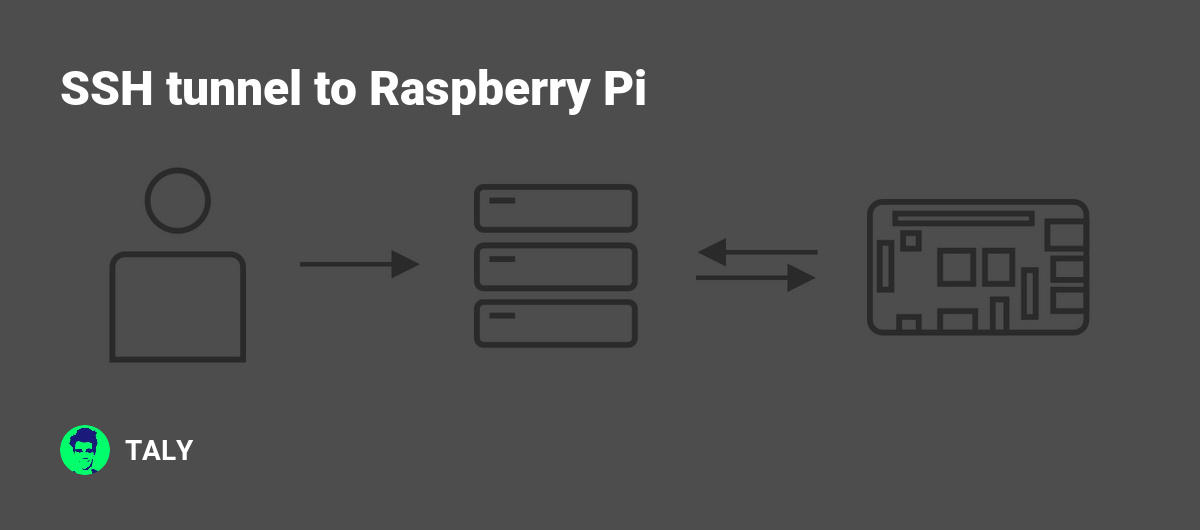
SSH tunneling works by creating an encrypted connection between two devices over the internet. The data transmitted through this connection is protected from unauthorized access and interception. This process involves the following steps:
- Establishing an SSH connection between the client and server
- Encrypting the data being transmitted
- Forwarding the data through the tunnel to the destination device
By using SSH tunneling, you can securely access services such as web browsing, file transfers, and remote desktop connections without exposing your data to potential threats.
Setting Up Raspberry Pi for SSH Tunneling
Setting up Raspberry Pi for SSH tunneling involves several steps, including configuring the operating system, enabling SSH, and establishing the tunnel. Below is a step-by-step guide to help you get started:
Step 1: Install the Operating System
Begin by installing a suitable operating system on your Raspberry Pi. Raspbian, the official Raspberry Pi OS, is a popular choice due to its ease of use and wide range of features. You can download the latest version from the official Raspberry Pi website.
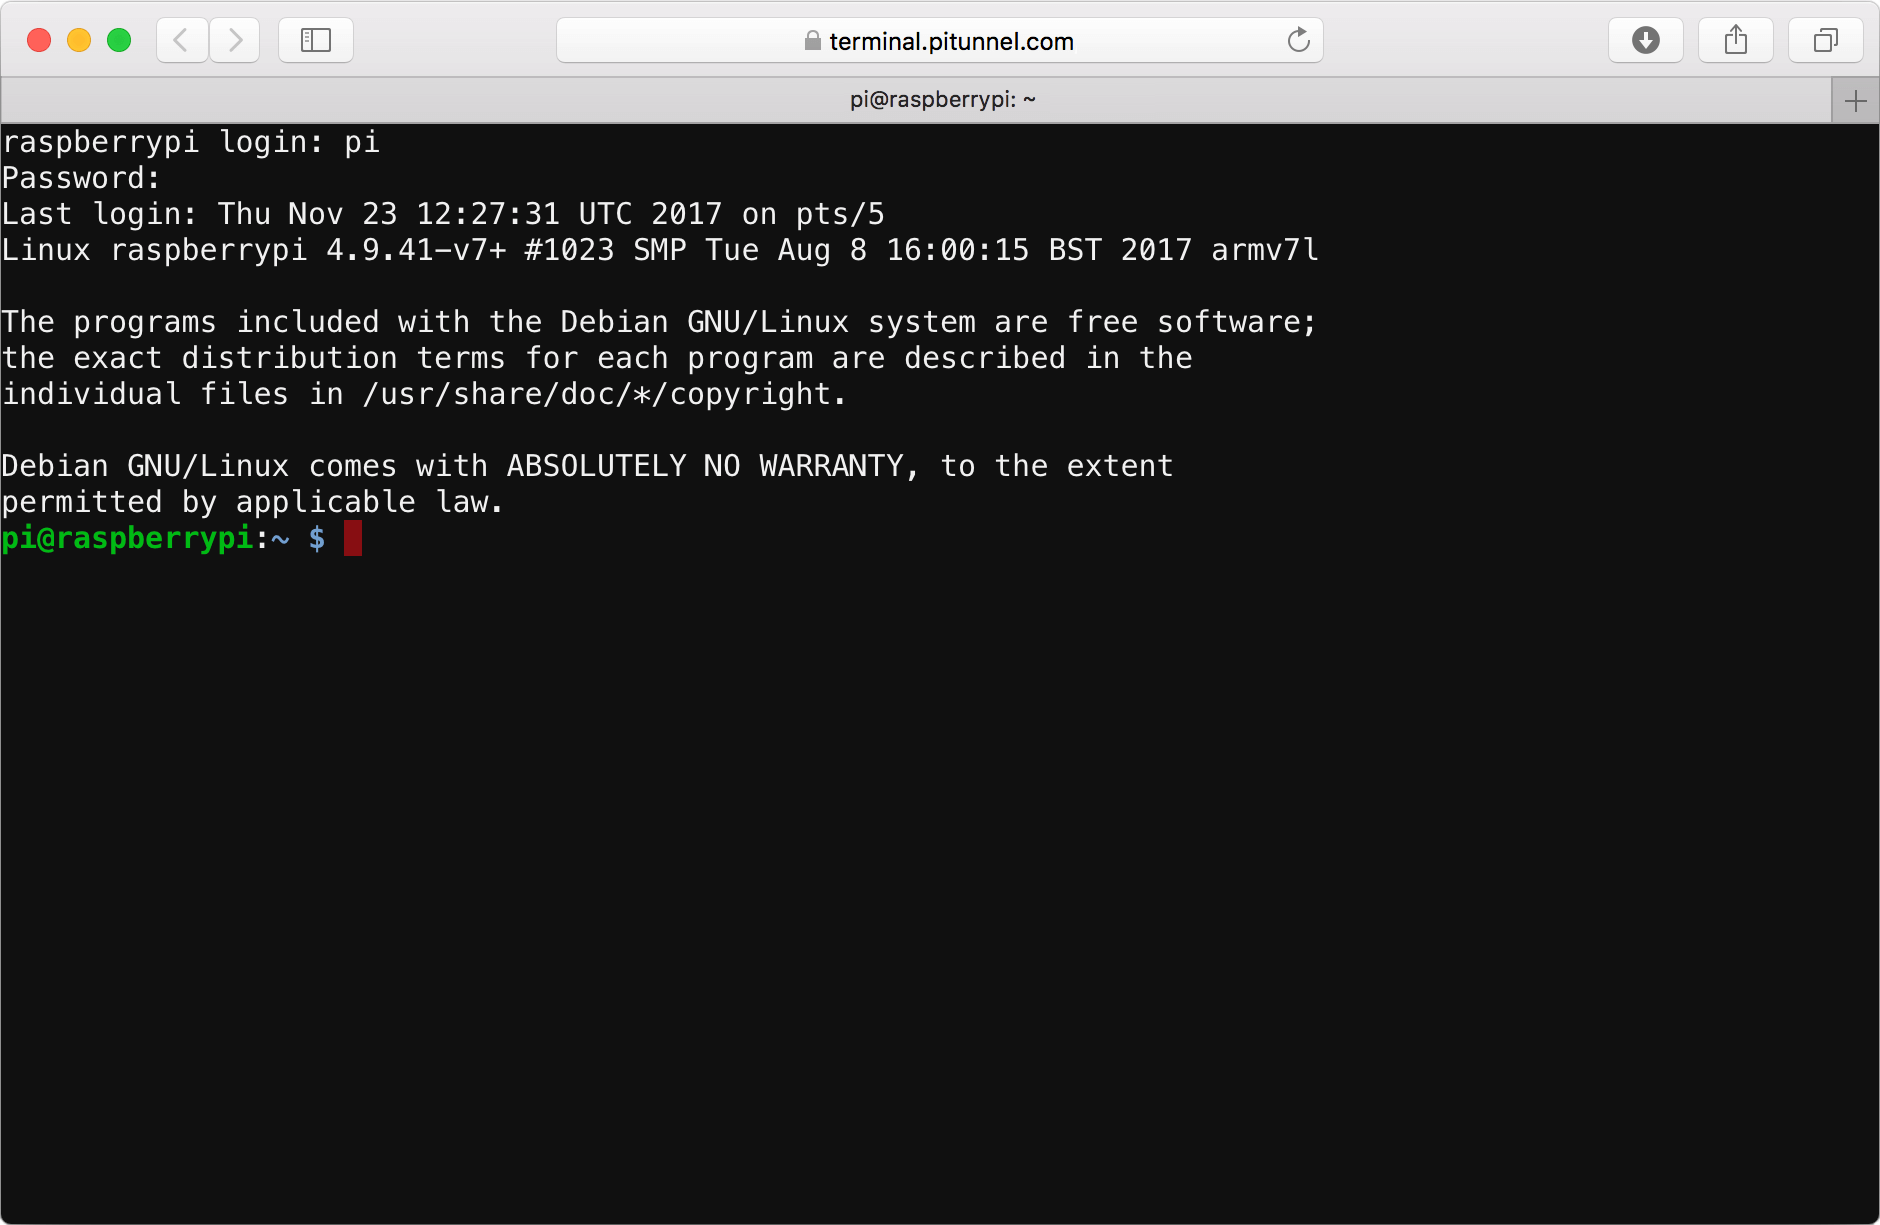
Step 2: Enable SSH
Once the operating system is installed, enable SSH on your Raspberry Pi. This can be done by navigating to the Raspberry Pi Configuration menu and selecting the SSH option. Alternatively, you can enable SSH by placing an empty file named "ssh" in the boot partition of your SD card.
Step 3: Configure the SSH Tunnel
After enabling SSH, configure the tunnel by specifying the source and destination ports. This can be done using the SSH command in the terminal. For example:
ssh -L [local_port]:[destination_host]:[destination_port] [username]@[raspberry_pi_ip]
This command creates a local port forward that allows you to access the destination service securely.
Security Best Practices for Raspberry Pi SSH Tunnel
While SSH tunneling provides a secure method of communication, it's essential to follow best practices to ensure maximum protection. Here are some tips to enhance the security of your Raspberry Pi SSH tunnel:
- Use strong passwords or public key authentication
- Disable root login to prevent unauthorized access
- Regularly update your operating system and software
- Monitor login attempts and restrict access to trusted IP addresses
By implementing these measures, you can significantly reduce the risk of security breaches and protect your data.
Common Use Cases for Raspberry Pi SSH Tunnel
Raspberry Pi SSH tunnels can be used for various purposes, including:
- Remote desktop access: Securely access your computer's desktop from anywhere
- File transfers: Transfer files between devices without exposing them to the internet
- Web browsing: Protect your online activity by routing traffic through the tunnel
- Network management: Monitor and manage your home network from a remote location
These use cases demonstrate the versatility and utility of Raspberry Pi SSH tunnels in both personal and professional settings.
Troubleshooting Raspberry Pi SSH Tunnel Issues
Like any technology, Raspberry Pi SSH tunnels may encounter issues that need to be resolved. Common problems include connection errors, authentication failures, and performance issues. Below are some troubleshooting tips to help you address these challenges:
- Check your network configuration and ensure proper connectivity
- Verify SSH settings and ensure the service is running
- Test the tunnel with different ports and protocols
- Consult the Raspberry Pi community forums for additional support
By following these steps, you can quickly identify and resolve issues related to your Raspberry Pi SSH tunnel.
Advanced Configurations for Raspberry Pi SSH Tunnel
For advanced users, Raspberry Pi offers additional configurations to enhance the functionality of SSH tunnels. These include:
DynDNS Integration
Dynamic DNS (DynDNS) allows you to assign a static domain name to your Raspberry Pi, even if it has a dynamic IP address. This makes it easier to access your device from remote locations without needing to remember the IP address.
Port Forwarding
Port forwarding enables you to map specific ports on your router to the Raspberry Pi, allowing external devices to connect directly to the tunnel. This can be particularly useful for services such as web servers or email clients.
By exploring these advanced configurations, you can unlock the full potential of your Raspberry Pi SSH tunnel.
Conclusion
Raspberry Pi SSH tunneling is a powerful tool for securing remote access to your devices. By following the steps outlined in this article, you can set up and configure a secure tunnel that protects your data and enhances your cybersecurity. Remember to follow best practices and stay informed about the latest developments in SSH technology.
We encourage you to share your thoughts and experiences in the comments section below. If you found this article helpful, consider sharing it with your network or exploring other articles on our site. Together, let's build a safer digital future!
Table of Contents
- What is Raspberry Pi SSH Tunnel?
- Why Use Raspberry Pi for SSH Tunneling?
- How Does SSH Tunneling Work?
- Setting Up Raspberry Pi for SSH Tunneling
- Security Best Practices for Raspberry Pi SSH Tunnel
- Common Use Cases for Raspberry Pi SSH Tunnel
- Troubleshooting Raspberry Pi SSH Tunnel Issues
- Advanced Configurations for Raspberry Pi SSH Tunnel
- Conclusion