Setting up a remote IoT system behind a router using Raspberry Pi can significantly enhance your home automation and security capabilities. Whether you're a tech enthusiast or someone looking to streamline your smart home setup, this guide provides comprehensive insights into achieving a seamless IoT connection without any costs involved. In today's fast-paced world, the ability to control your devices remotely is no longer a luxury but a necessity.
As the Internet of Things (IoT) continues to grow in popularity, many people are seeking affordable and efficient ways to integrate smart technology into their daily lives. Utilizing Raspberry Pi as the backbone of your IoT setup offers a cost-effective solution, especially when configured correctly to work behind your existing router. This guide will walk you through the process step by step, ensuring you can enjoy the benefits of remote IoT without any financial burden.
Whether you're monitoring your home security cameras, controlling smart lights, or managing your HVAC system, the ability to access these devices remotely can provide peace of mind and convenience. By leveraging free tools and software, you can set up a robust IoT infrastructure that rivals commercial solutions. This article will explore the best methods and configurations to achieve this, ensuring your setup is both reliable and secure.
Table of Contents
- Introduction to Remote IoT with Raspberry Pi
- Understanding Raspberry Pi Basics
- Configuring Your Router for IoT
- Setting Up Free Software for IoT
- Security Considerations for Remote IoT
- Troubleshooting Common Issues
- Practical Applications of Remote IoT
- Optimizing Your IoT Setup
- Cost Benefits of Using Raspberry Pi for IoT
- Conclusion and Next Steps
Introduction to Remote IoT with Raspberry Pi
What is Remote IoT?
Remote IoT refers to the ability to control and monitor Internet of Things devices from a distant location. This setup is particularly useful for managing smart home devices, industrial equipment, or even agricultural systems. With Raspberry Pi, you can create a central hub for all your IoT devices, allowing you to access them securely from anywhere in the world.
Why Use Raspberry Pi?
Raspberry Pi is a versatile single-board computer that offers a balance of performance and affordability. It can act as a powerful server for your IoT devices, capable of handling multiple tasks simultaneously. Additionally, its open-source nature ensures that you have access to a vast array of free software and community support, making it an ideal choice for DIY enthusiasts.
Setting Up for Free
One of the most appealing aspects of using Raspberry Pi for remote IoT is the ability to set it up without incurring additional costs. By utilizing free software and open-source tools, you can build a robust IoT infrastructure that rivals commercial solutions. This guide will explore the best practices and configurations to achieve this.
Understanding Raspberry Pi Basics
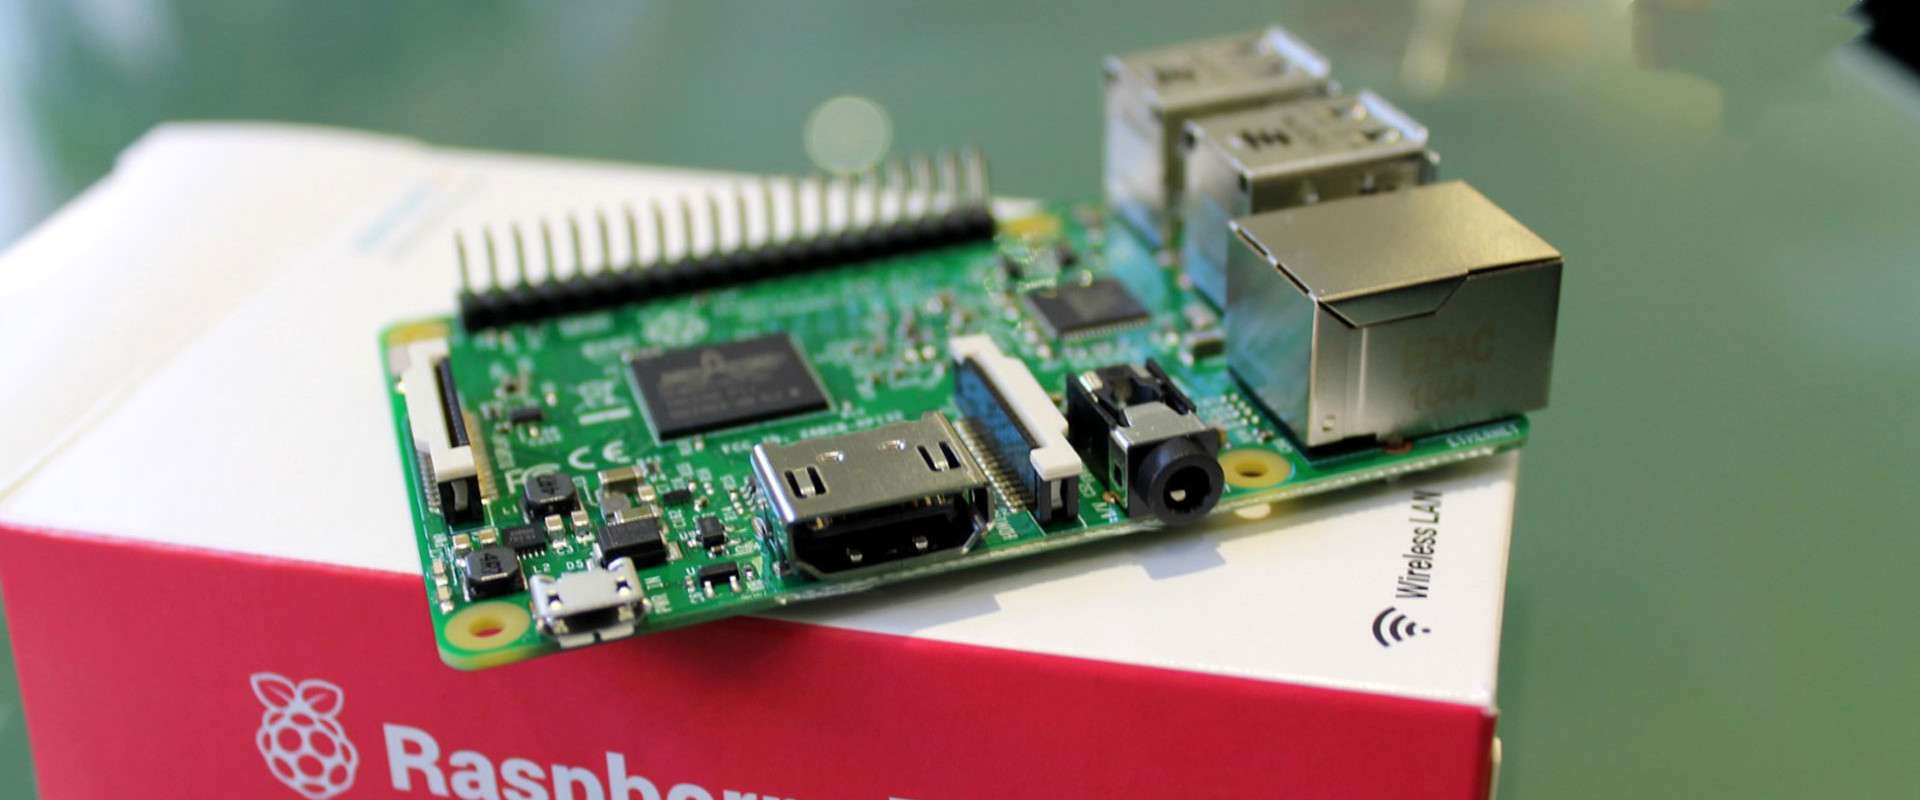
Before diving into the specifics of setting up remote IoT with Raspberry Pi, it's essential to understand the basics of this versatile device. Raspberry Pi is a small, affordable computer that can be used for a variety of projects, from media centers to robotics. It comes in several models, each with different specifications to suit various needs.
Choosing the Right Model
For remote IoT applications, the Raspberry Pi 4 Model B is often recommended due to its superior processing power and memory capabilities. However, older models like the Raspberry Pi 3 can also suffice for less demanding setups. When selecting a model, consider the number of devices you plan to connect and the complexity of your IoT network.
Essential Accessories
- MicroSD card with at least 16GB capacity
- Power adapter compatible with your Raspberry Pi model
- HDMI cable and monitor for initial setup (optional)
- Keyboard and mouse for configuration (optional)
Installing the Operating System
Begin by downloading the Raspberry Pi OS, which is the official operating system for Raspberry Pi. Use the Raspberry Pi Imager tool to flash the OS onto your MicroSD card. Once installed, boot your Raspberry Pi and configure the basic settings, such as Wi-Fi connection and user preferences.
Configuring Your Router for IoT
Setting up your router correctly is crucial for ensuring smooth communication between your IoT devices and Raspberry Pi. This section will guide you through the necessary configurations to enable remote access while maintaining security.
Port Forwarding
Port forwarding allows external devices to connect to your Raspberry Pi by directing incoming traffic to the correct IP address and port. To set this up, log into your router's admin panel and locate the port forwarding section. Add a new rule, specifying the internal IP address of your Raspberry Pi and the desired port number.
Static IP Address
Assigning a static IP address to your Raspberry Pi ensures that it always has the same network address, making it easier to manage and configure. Most routers allow you to reserve an IP address for specific devices, which can be done through the DHCP settings.
DDNS Setup
Dynamic DNS (DDNS) services provide a way to access your Raspberry Pi using a domain name instead of an IP address, which can change over time. Many free DDNS providers are available, such as No-IP and DuckDNS. Follow their instructions to link your Raspberry Pi to a domain name.
Setting Up Free Software for IoT
With Raspberry Pi OS installed and your router configured, it's time to set up the software that will power your remote IoT setup. Several free and open-source options are available, each offering unique features and functionalities.
MQTT Broker
Message Queuing Telemetry Transport (MQTT) is a lightweight protocol ideal for IoT applications. Installing an MQTT broker on your Raspberry Pi allows devices to communicate efficiently, even with limited bandwidth. Mosquitto is a popular choice for this purpose and can be installed via the command line.
Home Automation Software
For a more user-friendly experience, consider installing home automation software like Home Assistant. This platform integrates with various smart devices and provides a web-based interface for managing your IoT network. It also supports voice control through integrations with Amazon Alexa and Google Assistant.
Remote Access Tools
To access your Raspberry Pi remotely, you can use tools like SSH (Secure Shell) or VNC (Virtual Network Computing). These utilities allow you to control your device from any location, provided you have the necessary permissions and configurations in place.
Security Considerations for Remote IoT
Security is a critical aspect of any remote IoT setup. While Raspberry Pi offers a robust platform, it's essential to implement best practices to protect your devices and data from unauthorized access.
Firewall Configuration
Enabling a firewall on your Raspberry Pi can help filter out unwanted traffic and prevent potential attacks. UFW (Uncomplicated Firewall) is a user-friendly tool for managing firewall rules and can be easily installed and configured.
Regular Updates
Keeping your Raspberry Pi and all installed software up to date is vital for maintaining security. Regular updates ensure that any vulnerabilities are patched promptly, reducing the risk of exploitation.
Strong Passwords
Using strong, unique passwords for all accounts and services is a simple yet effective way to enhance security. Avoid using default credentials and consider enabling two-factor authentication (2FA) where possible.
Troubleshooting Common Issues
Despite careful planning and configuration, issues can arise during the setup process. This section will address some common problems and provide solutions to help you overcome them.
Connection Problems
If you're experiencing difficulties connecting to your Raspberry Pi remotely, check your router settings and ensure that port forwarding is correctly configured. Verify that your DDNS service is functioning and that your Raspberry Pi has a stable internet connection.
Software Errors
Software-related issues can often be resolved by reinstalling the affected application or updating to the latest version. Refer to the official documentation or community forums for additional support and troubleshooting tips.
Performance Issues
Slow performance may indicate resource constraints or excessive load on your Raspberry Pi. Monitor system resources using tools like htop and consider optimizing your setup by disabling unnecessary services or upgrading hardware components.
Practical Applications of Remote IoT
The possibilities for remote IoT applications are virtually limitless. From home automation to industrial monitoring, Raspberry Pi provides a flexible platform for implementing innovative solutions.
Smart Home Automation
Control lighting, climate, and security systems from anywhere in the world. Integrate with popular smart home devices and create custom automations to suit your lifestyle.
Environmental Monitoring
Monitor temperature, humidity, and air quality in real-time using sensors connected to your Raspberry Pi. This setup is particularly useful for agricultural applications or climate-controlled environments.
Remote Surveillance
Set up a network of security cameras and access live feeds remotely. Combine with motion detection and alert systems for enhanced home security.
Optimizing Your IoT Setup
Optimizing your IoT setup can improve performance, reliability, and user experience. This section will explore strategies to enhance your Raspberry Pi-based IoT network.
Energy Efficiency
Implement power-saving features such as sleep modes and scheduled operations to reduce energy consumption. This is especially important for battery-powered devices.
Data Management
Efficiently manage data storage and retrieval by implementing cloud-based solutions or local databases. Consider using data compression techniques to minimize storage requirements.
User Interface
Create an intuitive user interface for easy interaction with your IoT devices. Use web-based dashboards or mobile apps to provide convenient access and control options.
Cost Benefits of Using Raspberry Pi for IoT
One of the most significant advantages of using Raspberry Pi for remote IoT is the cost savings it offers. By leveraging free software and open-source tools, you can build a professional-grade IoT system without breaking the bank.
Initial Investment
The initial cost of purchasing a Raspberry Pi and essential accessories is minimal compared to commercial IoT solutions. Additionally, many users already have compatible components on hand, further reducing expenses.
Ongoing Costs
With free software and minimal power consumption, the ongoing costs associated with maintaining a Raspberry Pi-based IoT setup are negligible. This makes it an attractive option for both personal and professional applications.
Scalability
Raspberry Pi's modular design allows for easy expansion and upgrades, ensuring your IoT setup can grow alongside your needs without significant additional costs.
Conclusion and Next Steps
In conclusion, setting up a remote IoT system behind a router using Raspberry Pi is a cost-effective and powerful solution for managing smart devices. By following the guidelines outlined in this article, you can create a secure, efficient, and scalable IoT infrastructure that enhances your daily life.
We encourage you to share your experiences and ask questions in the comments section below. Additionally, explore other articles on our site to learn more about Raspberry Pi and IoT applications. Together, let's build a smarter, more connected future!