Raspberry Pi SSH tunnel has become an essential tool for anyone looking to enhance their cybersecurity and remote access capabilities. Whether you're a hobbyist, a professional developer, or an IT enthusiast, understanding how to set up and utilize Raspberry Pi SSH tunnel can significantly boost your ability to securely manage devices over the internet. In this comprehensive guide, we will walk you through everything you need to know about Raspberry Pi SSH tunnel, from its basic concepts to advanced configurations.
Raspberry Pi SSH tunnel is not just a technical term but a powerful solution that allows you to create encrypted connections between devices. This technology ensures that your data remains secure and private, even when transmitted over unsecured networks. As cyber threats continue to evolve, it’s crucial to have the knowledge and skills to implement robust security measures.
In this article, we will explore the intricacies of Raspberry Pi SSH tunnel, including step-by-step instructions, best practices, and troubleshooting tips. By the end of this guide, you will have a solid understanding of how to leverage Raspberry Pi SSH tunnel to protect your data and simplify remote management tasks. Let’s dive in!
Table of Contents
- Introduction to Raspberry Pi SSH Tunnel
- Raspberry Pi Basics
- Why Use SSH Tunnel?
- Setting Up SSH on Raspberry Pi
- Configuring SSH Tunnel
- Advanced SSH Tunnel Techniques
- Troubleshooting Common Issues
- Best Practices for Security
- Real-World Applications
- Conclusion
Introduction to Raspberry Pi SSH Tunnel
What is SSH Tunnel?
SSH tunnel, also known as Secure Shell tunnel, is a method of securely transmitting data between two devices over a network. It uses encryption to protect data from unauthorized access and interception. When combined with a Raspberry Pi, SSH tunnel becomes a powerful tool for creating secure connections between your Pi and other devices or servers.
Raspberry Pi SSH tunnel is particularly useful for remote administration, secure file transfers, and accessing services behind firewalls. By setting up an SSH tunnel, you can ensure that your data remains private and secure, even when transmitted over public networks.
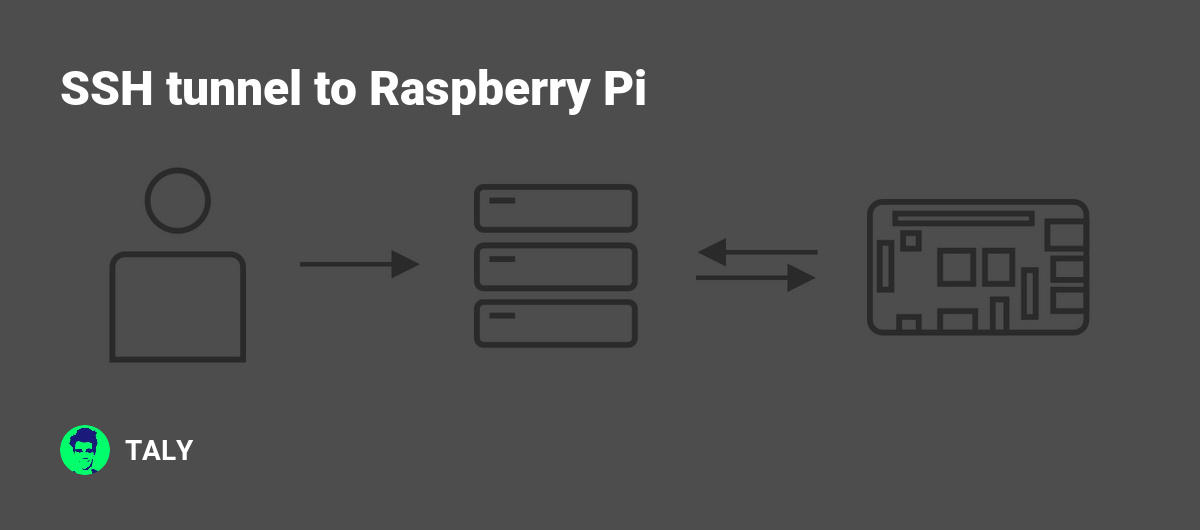
How Does Raspberry Pi SSH Tunnel Work?
Raspberry Pi SSH tunnel works by creating an encrypted channel between your Raspberry Pi and a remote server. This channel allows you to securely transmit data, such as files, commands, or even entire applications, without exposing them to potential threats. The process involves configuring your Raspberry Pi to act as an SSH client or server, depending on your needs.
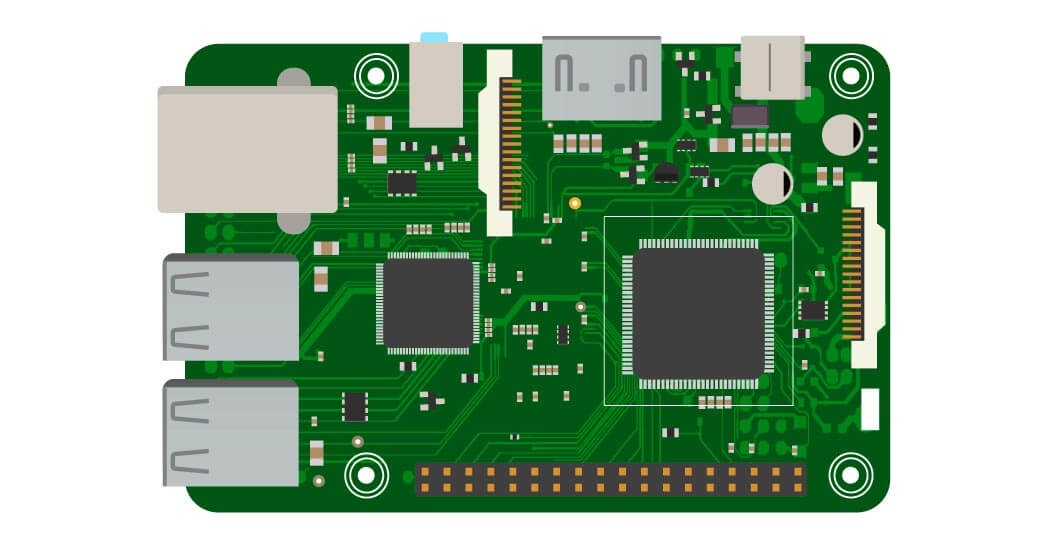
Raspberry Pi Basics
Before diving into the specifics of Raspberry Pi SSH tunnel, it’s important to understand the basics of Raspberry Pi. Raspberry Pi is a small, affordable computer that can be used for a wide range of applications, from home automation to robotics. It runs on Linux-based operating systems, such as Raspbian, and is highly customizable.
One of the key features of Raspberry Pi is its ability to run headless, meaning it can operate without a monitor or keyboard. This makes it ideal for remote management tasks, where SSH tunnel can play a crucial role in maintaining secure connections.
Why Use SSH Tunnel?
Using Raspberry Pi SSH tunnel offers several advantages, including:
- Enhanced Security: SSH tunnel encrypts all data transmitted between devices, protecting it from eavesdropping and unauthorized access.
- Remote Access: With SSH tunnel, you can securely access your Raspberry Pi from anywhere in the world, making it ideal for remote management tasks.
- Firewall Bypass: SSH tunnel can be used to bypass firewalls and access restricted services or websites.
- Cost-Effective: Raspberry Pi SSH tunnel is a cost-effective solution for securing your network without the need for expensive hardware or software.
Setting Up SSH on Raspberry Pi
Enabling SSH on Raspberry Pi
To set up SSH on your Raspberry Pi, follow these steps:
- Boot your Raspberry Pi and log in to the operating system.
- Open the terminal and type the following command:
sudo raspi-config. - Navigate to the "Interfacing Options" menu and select "SSH".
- Choose "Yes" to enable SSH and then exit the configuration tool.
Connecting to Raspberry Pi via SSH
Once SSH is enabled, you can connect to your Raspberry Pi from another device using an SSH client, such as PuTTY (for Windows) or Terminal (for macOS and Linux). Use the following command to connect:
ssh pi@your-pi-ip-address
Configuring SSH Tunnel
Creating a Basic SSH Tunnel
To create a basic SSH tunnel, you can use the following command:
ssh -L local_port:destination_host:destination_port user@raspberry_pi_ip
Replace local_port, destination_host, destination_port, and user@raspberry_pi_ip with the appropriate values for your setup.
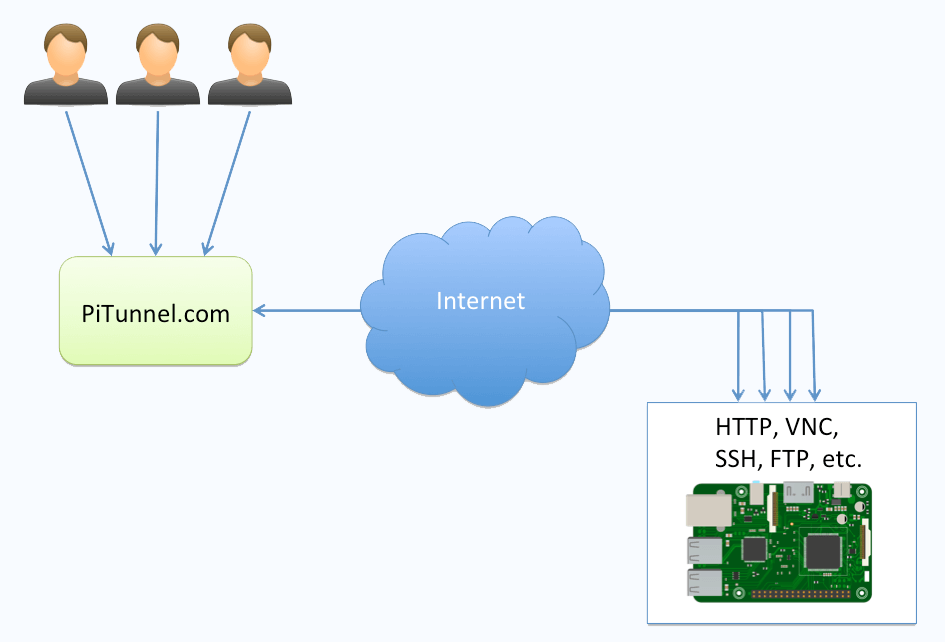
Setting Up a Reverse SSH Tunnel
A reverse SSH tunnel allows you to access your Raspberry Pi from a remote server. To set this up, use the following command:
ssh -R remote_port:localhost:local_port user@remote_server
This configuration enables you to connect to your Raspberry Pi from the remote server, even if it’s behind a firewall.
Advanced SSH Tunnel Techniques
Dynamic Port Forwarding
Dynamic port forwarding allows you to use SSH tunnel as a SOCKS proxy, enabling secure browsing and access to multiple services. Use the following command to set it up:
ssh -D local_port user@raspberry_pi_ip
SSH Tunnel with Key-Based Authentication
For added security, you can configure SSH tunnel to use key-based authentication instead of passwords. This involves generating an SSH key pair and adding the public key to your Raspberry Pi’s authorized_keys file.
Troubleshooting Common Issues
Here are some common issues you may encounter when setting up Raspberry Pi SSH tunnel and how to resolve them:
- Connection Refused: Ensure that SSH is enabled on your Raspberry Pi and that the IP address and port number are correct.
- Authentication Failed: Double-check your username and password, or ensure that your SSH key is correctly configured.
- Timeout Errors: Check your network connection and make sure there are no firewall restrictions blocking SSH traffic.
Best Practices for Security
To ensure the security of your Raspberry Pi SSH tunnel, follow these best practices:
- Use strong passwords or key-based authentication.
- Disable root login to prevent unauthorized access.
- Regularly update your Raspberry Pi’s operating system and SSH software.
- Limit SSH access to trusted IP addresses using firewall rules.
Real-World Applications
Raspberry Pi SSH tunnel has numerous real-world applications, including:
- Remote Monitoring: Use SSH tunnel to securely monitor and manage IoT devices from a central location.
- Secure File Transfers: Transfer sensitive files between devices without exposing them to potential threats.
- Accessing Cloud Services: Use SSH tunnel to securely access cloud-based services from your Raspberry Pi.
Conclusion
Raspberry Pi SSH tunnel is a powerful tool for enhancing cybersecurity and simplifying remote management tasks. By following the steps outlined in this guide, you can set up and configure SSH tunnel to protect your data and ensure secure connections between devices. Remember to adhere to best practices for security and regularly update your Raspberry Pi to stay protected against potential threats.
We encourage you to share your thoughts and experiences in the comments section below. If you found this article helpful, please consider sharing it with others who may benefit from it. For more in-depth guides and tutorials, explore our other articles on Raspberry Pi and cybersecurity topics.