Setting up a Raspberry Pi VPC network is an excellent way to enhance your networking skills and create a secure environment for your IoT projects or home lab. Whether you're a beginner or an advanced user, this guide will walk you through the process step by step. In this article, we'll explore the basics of VPC networks, how Raspberry Pi can be utilized, and provide practical examples to help you get started.
Raspberry Pi has revolutionized the world of DIY computing, offering a versatile platform for enthusiasts and professionals alike. Its affordability and flexibility make it the perfect tool for creating a virtual private cloud (VPC) network. By leveraging Raspberry Pi's capabilities, you can build a secure and scalable network infrastructure that meets your specific needs.
This article aims to provide a comprehensive overview of Raspberry Pi VPC network examples, covering everything from setup instructions to best practices. Whether you're looking to enhance your home network or develop a professional-grade cloud environment, this guide will equip you with the knowledge and tools necessary to succeed.
Table of Contents
- Introduction to VPC Networks
- Raspberry Pi Overview
- Why Use Raspberry Pi for VPC?
- The Setup Process
- Software Requirements
- Practical Examples of Raspberry Pi VPC Networks
- Security Best Practices
- Troubleshooting Tips
- Cost-Benefit Analysis
- Future Possibilities
Introduction to VPC Networks
A Virtual Private Cloud (VPC) is a dedicated network environment that allows you to deploy and manage resources securely within a cloud infrastructure. It provides isolation from other networks, ensuring that your data and applications remain protected. VPC networks are commonly used in both enterprise and personal settings to enhance security, scalability, and flexibility.
Key Features of VPC Networks
- Private subnets for secure communication
- Customizable IP addressing
- Network access control lists (ACLs)
- Security groups for resource protection
VPC networks are particularly useful for IoT projects, home labs, and small business environments. They allow users to define their own network topology, ensuring that all devices and services communicate securely within the defined boundaries.
Raspberry Pi Overview
The Raspberry Pi is a credit-card-sized single-board computer designed to promote the teaching of basic computer science in schools and developing countries. However, its versatility and affordability have made it a favorite among hobbyists, developers, and professionals worldwide. The Raspberry Pi can run various operating systems, including Linux distributions, making it ideal for experimenting with networking technologies.
Popular Models for Networking
When choosing a Raspberry Pi for your VPC network, consider the following models:
- Raspberry Pi 4 Model B
- Raspberry Pi 3 Model B+
- Raspberry Pi Zero W
Each model offers different specifications, so select the one that best suits your project requirements. For VPC networks, the Raspberry Pi 4 is often recommended due to its superior processing power and memory capabilities.
Why Use Raspberry Pi for VPC?
Using a Raspberry Pi for your VPC network offers several advantages:
- Cost-Effective: Raspberry Pi is significantly cheaper than traditional servers, making it an attractive option for budget-conscious users.
- Energy-Efficient: Raspberry Pi consumes minimal power, reducing operational costs over time.
- Customizable: You can tailor the setup to meet your specific needs, whether it's for a home network or a professional environment.
- Community Support: The Raspberry Pi community is vast and supportive, providing ample resources and tutorials to help you succeed.
These benefits make Raspberry Pi an excellent choice for anyone looking to create a VPC network without breaking the bank.
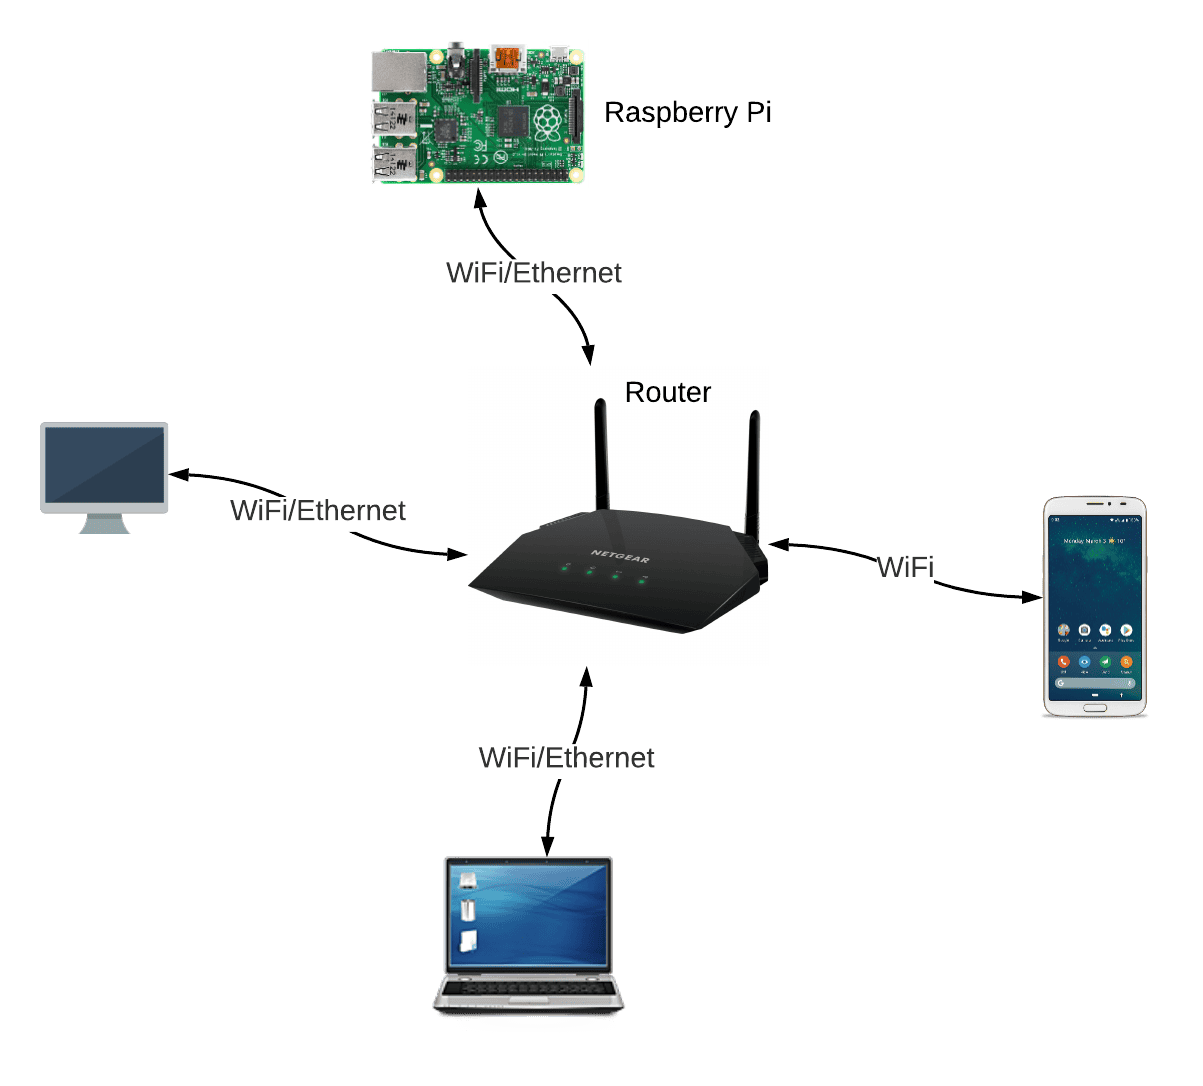
The Setup Process
Setting up a Raspberry Pi VPC network involves several steps, from hardware preparation to software configuration. Below is a detailed guide to help you get started:
Step 1: Gather Your Hardware
Before you begin, ensure you have the following components:
- Raspberry Pi board
- MicroSD card with pre-installed operating system
- Power supply
- Ethernet cables or Wi-Fi dongle
Step 2: Install the Operating System
Choose an operating system compatible with Raspberry Pi, such as Raspbian or Ubuntu Server. Follow the official installation guide to set up your SD card correctly.
Step 3: Configure Networking
Once the OS is installed, configure your Raspberry Pi's network settings. This includes setting up static IP addresses, configuring subnets, and enabling firewall rules.
Software Requirements
To create a VPC network on Raspberry Pi, you'll need to install and configure specific software:
1. Docker
Docker allows you to containerize your applications, making them easier to deploy and manage within your VPC network.
2. OpenVPN
OpenVPN provides secure communication channels between devices in your network, ensuring data privacy and protection.
3. Pi-Hole
Pi-Hole acts as a network-wide ad blocker, improving browsing experience and reducing unnecessary traffic.
Ensure all software is updated regularly to benefit from the latest features and security patches.
Practical Examples of Raspberry Pi VPC Networks
Here are a few practical examples of Raspberry Pi VPC networks:
Example 1: Home Automation System
Use Raspberry Pi to create a VPC network for your home automation system. Connect smart devices such as thermostats, lights, and security cameras to the network, ensuring secure and reliable communication.
Example 2: IoT Development Platform
Set up a Raspberry Pi VPC network for IoT development. Test and deploy IoT applications in a controlled environment, protecting your devices from external threats.
Example 3: Educational Lab
Create a VPC network for educational purposes, allowing students to experiment with networking concepts and technologies safely.
Security Best Practices
Security is paramount when setting up a VPC network. Follow these best practices to ensure your network remains protected:
1. Use Strong Passwords
Implement strong, unique passwords for all devices and services within your network.
2. Regularly Update Software
Keep all software and firmware up to date to protect against vulnerabilities.
3. Enable Firewall
Configure a firewall to control inbound and outbound traffic, minimizing the risk of unauthorized access.
By adhering to these practices, you can significantly enhance the security of your Raspberry Pi VPC network.
Troubleshooting Tips
Encountering issues during setup is common. Here are some troubleshooting tips to help you resolve problems quickly:
- Check network cables and connections
- Verify IP configurations
- Consult official documentation and forums
Stay patient and persistent, as troubleshooting can sometimes require trial and error.
Cost-Benefit Analysis
Building a Raspberry Pi VPC network offers significant cost benefits compared to traditional solutions. The initial investment is minimal, and ongoing operational costs are low due to energy efficiency. Additionally, the flexibility and customization options provided by Raspberry Pi make it a valuable asset for both personal and professional projects.
Future Possibilities
As technology continues to evolve, the possibilities for Raspberry Pi VPC networks are endless. Future developments in IoT, AI, and cloud computing could further enhance the capabilities of these networks, making them even more powerful and versatile.
Kesimpulan
In conclusion, setting up a Raspberry Pi VPC network is an excellent way to enhance your networking skills and create a secure environment for your projects. By following the steps outlined in this guide, you can build a robust and scalable network tailored to your needs. Remember to prioritize security and stay updated with the latest technologies to maximize the potential of your Raspberry Pi VPC network.
We encourage you to share your experiences and insights in the comments below. Additionally, explore other articles on our site for more information on Raspberry Pi and related technologies. Together, let's continue to innovate and push the boundaries of what's possible with Raspberry Pi!